
A first tattoo appointment can feel unpredictable when you do not know how the process moves from design approval to the finished piece. Most professional sessions follow a clear sequence that includes consultation, paperwork, stencil placement, skin preparation, tattooing, final cleaning, and bandaging.
Knowing what happens at each stage can make it easier to communicate with the artist and recognize professional practices. The exact order may vary depending on the studio, tattoo style, placement, and size of the design.
Key Takeaways
- The artist will review the design, placement, size, and expectations before tattooing begins.
- Consent forms and health questions help identify issues that may affect the session or healing.
- You should approve the final stencil before the artist starts tattooing.
- Linework, shading, and color may be completed in different orders depending on the design.
- Breaks should be coordinated with the artist rather than taken without warning.
- The session ends with cleaning, inspection, bandaging, and aftercare instructions.
Before the Appointment Begins
Your appointment may start with check-in, identification, consent forms, and a review of studio policies. Some studios complete these steps digitally before the appointment, while others handle them after you arrive.
The artist may confirm your age, contact information, health disclosures, medications, allergies, and previous reactions to tattoo products. Answer these questions honestly because they can affect whether the appointment should continue.
You may also be asked to confirm that you are not intoxicated and that you understand the permanent nature of the tattoo. Professional artists can postpone or refuse a session when a client cannot provide informed consent.
Reviewing the Final Design
The artist will usually show you the final artwork before preparing the stencil. This is your opportunity to review the subject, spelling, orientation, size, and important details.
Ask for changes before the design is transferred to your skin. Small corrections are easier to make at this stage than after tattooing begins.
An artist may recommend increasing the size, reducing fine details, or changing the placement. These adjustments are often intended to improve readability, body flow, or long-term clarity.
| Design element | What to check |
| Spelling and dates | Confirm every letter and number |
| Direction | Check which way the design faces |
| Size | Make sure details have enough space |
| Symmetry | Review centered or mirrored elements |
| Placement | Consider movement, clothing, and visibility |
Do not approve the design because you feel rushed or uncomfortable asking questions. A permanent change should be discussed before the artist starts.
Choosing and Approving the Placement
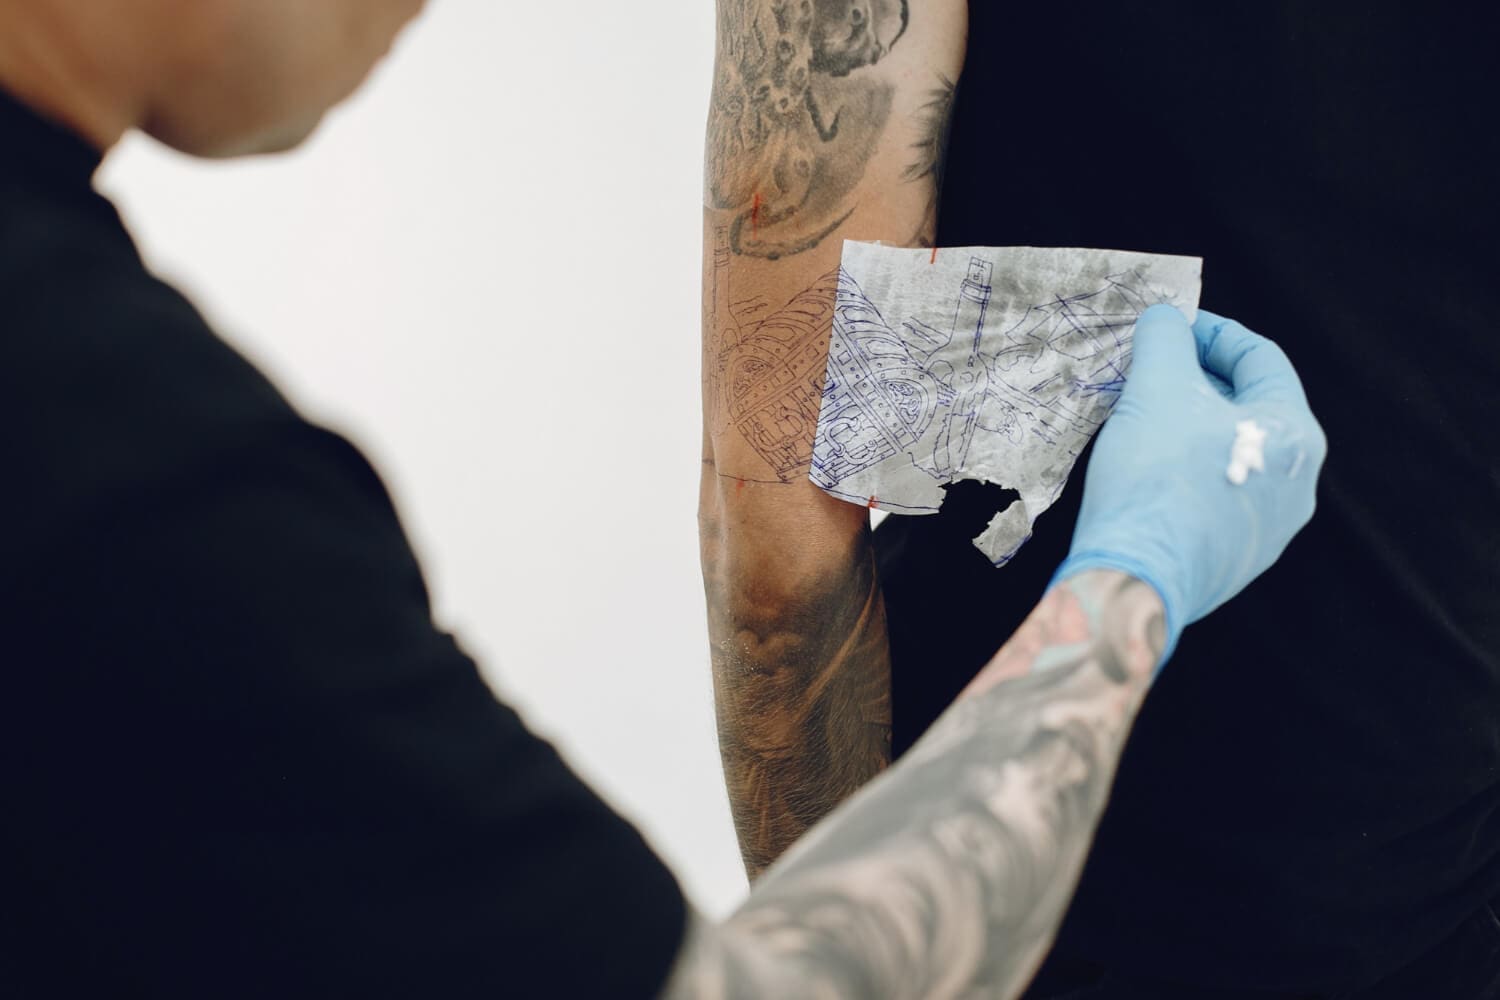
The artist may place a printed stencil against the body before transferring it. This helps identify whether the design needs to be resized or adjusted to follow the shape of the area.
Placement should be reviewed while your body is in a natural position. A stencil that looks centered while sitting may shift when you stand, bend, or relax your muscles.
Use a mirror or ask the artist to take a photo when the tattoo is difficult to see directly. Check the placement from more than one angle.
The artist may remove and reapply the stencil several times. This is a normal part of getting the position right, especially for symmetrical designs, lettering, sleeves, or tattoos near joints.
Once you approve the stencil, avoid touching it. The transfer needs time to settle before tattooing begins.
Workstation and Equipment Preparation
The workstation may already be prepared when you enter the tattooing area. In other studios, the artist completes the setup after the design and placement are confirmed.
You may see disposable barriers on the tattoo machine, cables, bottles, lamp handles, trays, and other frequently touched surfaces. Sterile needles or cartridges should remain sealed until they are needed.
Fresh ink is dispensed into individual caps. Razors, wipes, rinse cups, and many other supplies are prepared for one client and discarded after the session.
The artist should wash or sanitize their hands and put on clean gloves before preparing your skin. Gloves should be replaced whenever the artist touches something outside the controlled work area.
Skin Preparation and Stencil Transfer
The artist will expose only the area needed for the tattoo and position you so the skin can be reached safely. Clothing may need to be moved or protected from ink and cleaning products.
Hair is removed with a fresh disposable razor when necessary. The skin is then cleaned and prepared before the stencil is transferred.
After placement, the artist may reinforce small details with a skin-safe marker. These marks should be reviewed before tattooing starts.
The stencil may look darker, wider, or more purple than the final tattoo. It serves as a guide and does not represent the final line weight or shading.
Getting Into Position
The artist will place you on a chair, table, or adjustable bed depending on the tattoo location. Pillows, armrests, and supports may be used to keep the body stable.
A comfortable position at the start may become tiring during a long session. Tell the artist when you feel numb, cramped, dizzy, or unable to hold the pose safely.
Do not shift suddenly while the machine is touching your skin. Ask the artist to stop before adjusting your body, coughing, sneezing, or reaching for something.
Some areas require an awkward position so the artist can stretch the skin and maintain a consistent angle. The position should still allow you to breathe normally and communicate.
What the Tattoo Machine Feels and Sounds Like
The tattoo machine creates a buzzing or humming sound that may seem louder than expected. Rotary machines are often quieter, while coil machines may produce a more noticeable mechanical sound.
The sensation can feel like scratching, vibration, pressure, heat, or repeated sharp contact. It may change as the artist moves between different parts of the design.
Pain is not always constant. Some sections may feel mild, while areas near bones, joints, or sensitive skin can feel more intense.
The skin may become increasingly tender as the session continues. Shading over an area that has already been lined can feel different from the first passes.
Linework, Shading, and Color
Many tattoos begin with linework, which establishes the main contours and structural details. The artist may work from one side of the stencil to the other to avoid wiping away unused sections.
After the main lines are complete, the artist may move into shading, solid black, or color. The sequence depends on the design and the artist’s process.
| Tattooing stage | What usually happens |
| Linework | Main outlines and fine structural details are established |
| Black shading | Depth, contrast, and tonal transitions are added |
| Solid black | Dark anchor areas are saturated |
| Color packing | Pigment is layered for even coverage |
| Highlights | Small final accents may be added |
| Final review | The artist checks consistency and missing areas |
The artist will wipe the area repeatedly to remove excess ink, plasma, and fluid. Wiping can become uncomfortable as the skin grows more sensitive.
Communication During the Session
You do not need to remain completely silent, but the artist may become less conversational during detailed sections. Concentration is especially important during fine lines, lettering, or symmetrical work.
Tell the artist if you feel faint, nauseated, overheated, unusually cold, or unable to stay still. These symptoms should be addressed rather than hidden.
Avoid giving sudden instructions while the machine is moving. Wait for the artist to pause before asking a question or requesting a position adjustment.
You may listen to music, watch something, or talk when the studio allows it. Keep your phone and personal belongings away from the prepared workstation.
Frequently Asked Questions
Can I bring someone with me to my first tattoo appointment?
Studio policies vary because extra guests can affect space, concentration, and contamination control. Ask before arriving rather than assuming a friend can stay in the tattooing area.
Is it rude to ask the artist to change the stencil several times?
No. Placement changes are easier before tattooing begins, although repeated major changes may require more appointment time or design revisions.
Can I see the tattoo before it is bandaged?
The artist will usually clean and show the finished piece before applying the dressing. Photographs may also be taken during this stage.
Should I tip my tattoo artist after the session?
Tipping customs depend on location, studio culture, and the client’s preference. It is separate from the agreed tattoo price and should not replace clear payment for the work.
Leave Knowing What Happens Next
A first tattoo session should feel structured rather than rushed. The artist should explain the design, confirm the stencil, prepare the workstation, communicate during the procedure, and provide clear instructions before you leave.
Speak up before the needle starts if something about the design or placement feels wrong. During the session, communicate discomfort or physical symptoms before they become difficult to manage.
The appointment ends when the tattoo is cleaned and covered, but the result continues developing during healing. Understanding the next steps helps protect the skin and gives the artwork the best chance to settle cleanly.