
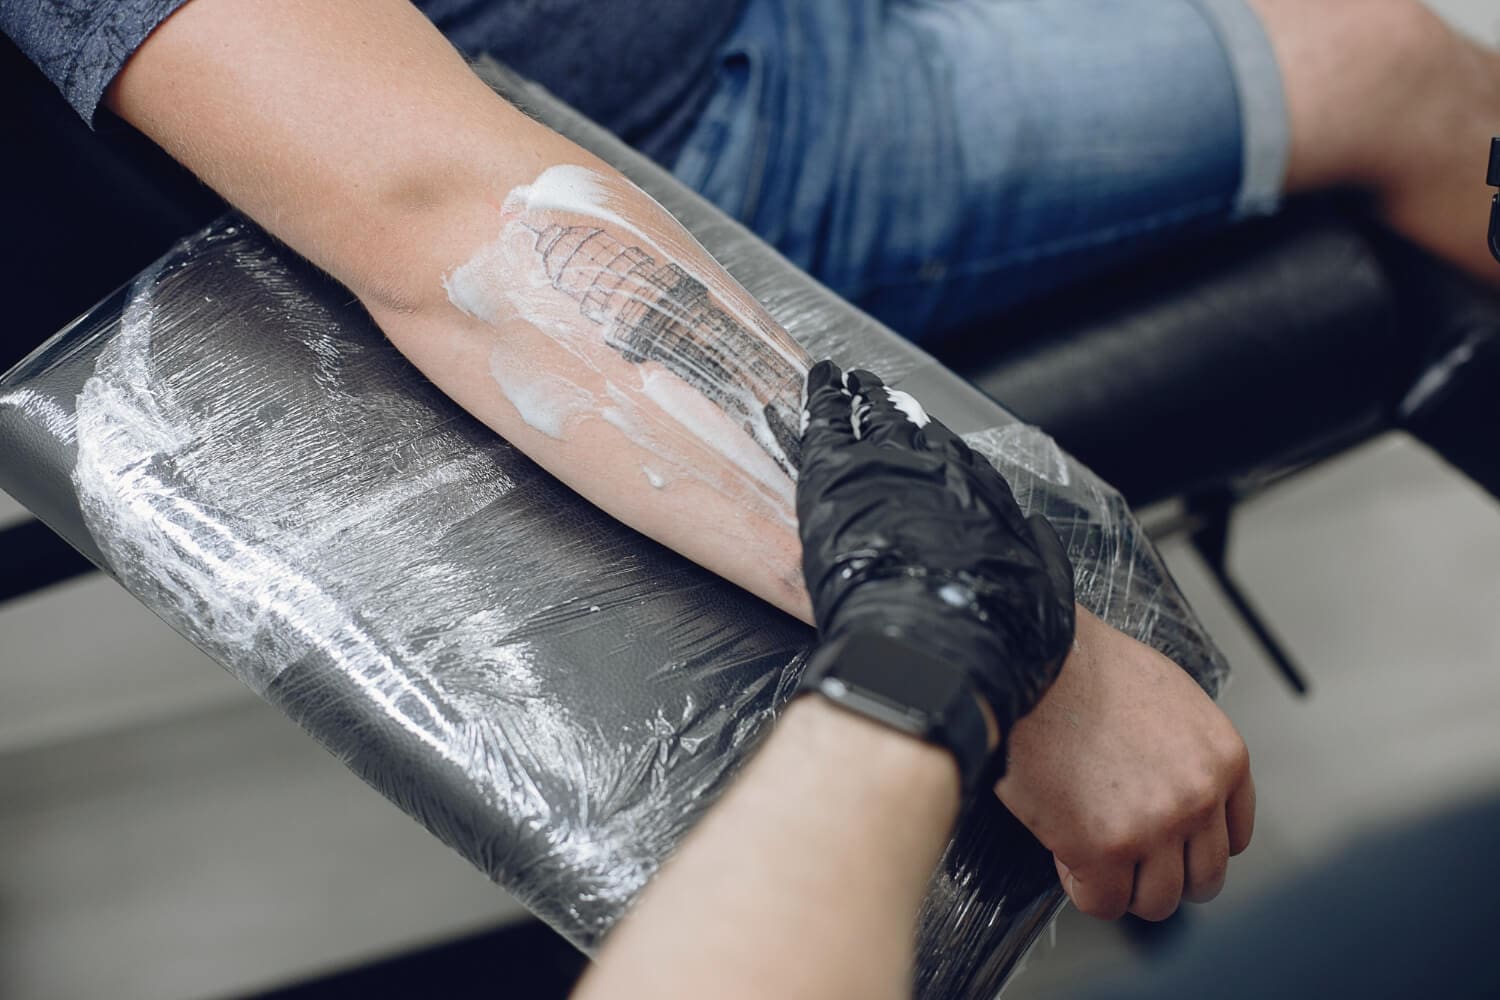
Getting a tattoo involves more than choosing a design and sitting through the session. The process includes consultation, health screening, hygienic preparation, controlled tattooing, wound protection, and several weeks of healing.
A professional artist reduces risk by using sterile equipment, preventing cross-contamination, monitoring the skin, and giving clear aftercare instructions. The client also plays an important role by preparing properly, following care directions, and recognizing signs that require medical attention.
This guide explains the complete tattoo process, safety practices to look for, normal healing stages, and how to care for a tattoo after leaving the studio.
Key Takeaways
- A safe tattoo begins with consultation, health screening, informed consent, and careful design planning.
- Professional studios use sterile needles, fresh disposable supplies, surface barriers, gloves, and approved disinfection procedures.
- Proper needle depth, machine control, skin stretching, and limited passes help reduce blowouts, scarring, and excessive trauma.
- New tattoos should be washed gently, moisturized lightly, and protected from soaking, friction, sweat, and direct sunlight.
- Mild redness, tenderness, peeling, and itching can be normal during healing.
- Spreading redness, increasing pain, pus, fever, or red streaks require medical evaluation.
The Tattoo Process at a Glance
The tattoo process begins before the needle touches the skin. Each stage helps protect the client while improving placement, healing, and the final appearance of the tattoo.
| Stage | What Happens | Main Purpose |
| Consultation | The design, placement, health history, and expectations are discussed | Confirm suitability and identify possible risks |
| Design preparation | The artwork is sized, revised, and adjusted to the body | Improve readability and placement |
| Studio preparation | The workstation, equipment, barriers, and supplies are arranged | Prevent contamination |
| Skin preparation | The area is cleaned, shaved, disinfected, and stenciled | Create a clean and accurate working area |
| Tattoo application | Linework, shading, and color are placed into the skin | Build the design while controlling skin trauma |
| Final cleaning | Excess ink, plasma, and residue are removed | Inspect and clean the finished tattoo |
| Dressing | A protective film, pad, or bandage is applied | Protect the fresh tattoo from contact and friction |
| Healing | The tattoo may become dry, itchy, flaky, or lightly scabbed | Allow the skin barrier to recover |
| Long-term care | The healed tattoo is protected from sunlight and skin damage | Preserve contrast, color, and clarity |
Before the Tattoo Appointment
A tattoo appointment should begin with a consultation about the design, placement, size, style, budget, and expected session length. This gives the artist time to assess whether the idea will work well on the chosen area of the body.
The artist may also ask about allergies, medications, skin conditions, recent illness, immune health, or previous reactions to tattoo ink and adhesives. Clients should provide accurate information because these factors can affect safety and healing.
Informed consent usually covers permanence, common risks, expected discomfort, and aftercare responsibilities. Reputable studios may also request identification, signatures, and acknowledgment of studio policies.
Clients should arrive rested, hydrated, and after eating a normal meal unless a medical professional has advised otherwise. Clothing should provide easy access to the tattoo area without pressing tightly against it afterward.
Alcohol, recreational drugs, and anything that impairs judgment should be avoided before the appointment. The artist should also be informed about any new illness, injury, rash, or skin irritation near the planned placement.
Design Preparation, Sizing, and Placement
The artist turns the client’s idea and reference images into artwork that can be applied safely and read clearly on skin. This may require changing the spacing, contrast, shape, or amount of detail.
Small tattoos cannot always support fine lettering, dense shading, or complex facial features. Increasing the size or simplifying the design can help prevent details from blending together as the tattoo ages.
| Design Feature | Risk When Too Small | Common Adjustment |
| Fine lines | Lines may appear crowded | Increase spacing |
| Small text | Letters may lose clarity | Use simpler lettering |
| Dense shading | Dark areas may merge | Preserve more open skin |
| Detailed faces | Features may become unclear | Simplify small details |
| Decorative borders | Elements may compete for space | Reduce ornamentation |
Placement should follow the natural shape and movement of the body. Muscle contours, joints, skin tension, clothing friction, and sun exposure can all influence how the tattoo looks and heals.
The client should review the final size and placement before the stencil is approved. Changes are easier to make before tattooing begins.
Stencil Application and Skin Preparation
The stencil guides the artist’s linework and confirms the tattoo’s position, direction, symmetry, and scale. The client should inspect it from different angles and while standing naturally when body alignment affects the design.
The area is usually cleaned, shaved with a fresh disposable razor, and prepared with an appropriate antiseptic product. Shaving removes hair that could interfere with the stencil, needle movement, or surface cleaning.
The artist should use clean gloves and disposable materials during skin preparation. Any product that touches contaminated skin should not be returned to a clean container or used on another client.
Once the stencil is transferred, it needs enough time to settle before tattooing begins. The artist may make small approved corrections with a skin-safe marker when necessary.
How Professional Tattoo Studios Control Infection
A tattoo breaks the skin, so the workstation must be prepared to reduce contact with blood, body fluids, and contaminated surfaces. Clean and contaminated items should remain separated throughout the session.
Frequently touched equipment may be covered with disposable barriers, including machine bags, clip cord sleeves, bottle covers, and barrier film. These coverings should be replaced between clients and whenever contamination occurs.
Hand hygiene remains necessary even when gloves are used. The artist should change gloves after touching phones, doors, drawers, uncovered equipment, or anything outside the prepared work area.
Needles and cartridges should be sterile, sealed, and intended for one client. Ink caps, razors, rinse cups, wipes, and applicators are also commonly single-use supplies.
Reusable instruments that require sterilization should be cleaned, packaged, and processed in an autoclave. Disposable needles should never be cleaned or reused.
Ink should be poured into fresh caps before the session begins. Leftover pigment should be discarded rather than returned to the original bottle.
Tattoo Safety Standards to Look For
A studio can appear clean while still using poor contamination controls. Clients should pay attention to how the artist handles equipment, gloves, ink, and waste.
| Safer Practice | Warning Sign |
| Needles are opened from sealed packaging | Loose or previously opened needles |
| Fresh ink caps are prepared | Ink is reused from another setup |
| Equipment is covered with new barriers | Uncovered surfaces are touched with contaminated gloves |
| Gloves are changed between tasks | The same gloves touch phones, doors, and skin |
| Used needles go directly into a sharps container | Needles are left on the workstation |
| Written aftercare is provided | Instructions are vague or inconsistent |
| The artist answers hygiene questions clearly | Staff avoid discussing sanitation procedures |
| Healed work is available for review | Only edited photos of fresh tattoos are shown |
Clients should also check whether the studio follows local licensing, inspection, and age requirements. These rules vary by location, but professional studios should be able to explain the standards they follow.
A strong portfolio does not replace safe procedures. Technical skill and infection control should be evaluated together.
What Happens During the Tattoo Session
The client is positioned so the artist can reach the area while keeping the body stable. Cushions, supports, and position changes may be used during longer sessions.
The artist stretches the skin to create a flatter working surface. Proper tension helps maintain consistent needle contact and improves line accuracy.
Linework usually establishes the main contours and structural details of the design. Shading and color are added afterward, although the order may change depending on the artist and tattoo style.
Shading creates depth, contrast, and texture through controlled passes. Color packing focuses on building even saturation without repeatedly damaging the same area.
The artist wipes away excess ink, plasma, and fluid throughout the session. This keeps the design visible and helps the artist monitor redness, swelling, bleeding, and skin irritation.
| Tattooing Stage | Main Purpose | Common Tools |
| Linework | Creates contours and defined details | Round liner, stencil, tattoo machine |
| Shading | Builds depth, gradients, and texture | Magnum needle, black ink, grey wash |
| Color packing | Creates solid and even color | Magnum cartridge, pigment, rinse cup |
| Wiping | Removes excess fluid and improves visibility | Disposable wipes, cleanser, rinse solution |
Technical Safety During Tattoo Application
The artist must control needle depth, angle, pressure, hand speed, and machine performance throughout the session. These factors affect pigment placement, line quality, and the amount of trauma caused to the skin.
Pigment placed too shallow may heal unevenly or fade quickly. Excessive depth can increase the risk of blowouts, scarring, and unnecessary tissue damage.
Machine voltage is not a fixed setting for every tattoo. It must match the machine, needle configuration, technique, hand speed, and condition of the skin.
A blowout occurs when pigment spreads beneath the skin beyond the intended line. It is more likely when the artist works too deeply, applies too much pressure, or tattoos fragile areas without enough control.
Overworking happens when the same area receives too many passes. This can lead to heavy swelling, prolonged bleeding, poor healing, pigment loss, or scarring.
The artist should monitor redness, bleeding, swelling, and skin texture as the tattoo progresses. If the skin becomes excessively irritated, continuing to force saturation may damage the result.
Pain Management and Client Care
Tattoo pain varies by placement, session length, technique, skin sensitivity, stress, and fatigue. Areas with thin skin, limited padding, or frequent movement may feel more intense.
Stable positioning and steady breathing can make the session easier to manage. Clients should tell the artist when they need an adjustment rather than moving suddenly.
Breaks may help with stiffness, anxiety, hydration, or fatigue during longer appointments. They should be coordinated with the artist because frequent or extended interruptions can make restarting uncomfortable.
Water and a light snack may be useful during long sessions when allowed by the studio. Clients who feel dizzy, faint, nauseated, or unwell should speak up immediately.
A session may need to stop if the client cannot remain safely positioned or if the skin is reacting poorly. Pushing through severe discomfort or abnormal symptoms can increase risk.
Completing and Dressing the Tattoo
When the tattoo is finished, the artist removes excess pigment, plasma, and residue from the skin. The area is then inspected for line consistency, saturation, swelling, and visible irritation.
A protective dressing is applied to reduce contact, friction, and contamination during the first stage of healing. The type of covering depends on the tattoo, placement, skin sensitivity, and artist preference.
| Dressing Type | Main Purpose | Key Consideration |
| Adhesive film | Protects the tattoo while allowing it to remain visible | Adhesive irritation or seal failure may occur |
| Sterile absorbent pad | Manages early fluid and protects from contact | Usually requires earlier removal |
| Non-adhesive dressing | Avoids direct adhesive on sensitive skin | Must remain secure without pressure |
| Temporary wrap | Protects the tattoo during travel from the studio | Should not remain on longer than instructed |
The artist should explain when and how to remove the dressing. Instructions may differ between adhesive film, pads, and temporary wraps.
Written aftercare should also cover washing, moisturizing, clothing, activity limits, warning signs, and follow-up care. Clients should follow the instructions provided for the specific dressing used.
Tattoo Aftercare: The First Wash
The first wash removes plasma, excess ink, and surface residue that can dry on the tattoo. The timing depends on the dressing used and the artist’s instructions.
Wash your hands before touching the tattoo. Use lukewarm water and a mild fragrance-free soap, then clean the area gently without scrubbing.
Rinse away all soap and pat the tattoo dry with a clean disposable towel. Avoid rubbing because fresh skin can be easily irritated.
Do not use hot water, exfoliating products, alcohol, hydrogen peroxide, or heavily scented cleansers. These can dry or irritate the healing skin.
Moisturizing Without Suffocating the Skin
A small amount of moisturizer can reduce tightness, dryness, and cracking. Apply only a thin layer that absorbs into the skin.
Too much product can leave the tattoo greasy, trap excess moisture, and increase irritation. The skin should not remain coated with a thick layer.
| Product Type | Potential Benefit | Possible Concern |
| Fragrance-free lotion | Lightweight and easy to apply | Some formulas contain irritating additives |
| Tattoo balm | Helps reduce dryness | Can be overapplied |
| Heavy ointment | Creates a stronger moisture barrier | May feel too occlusive |
| Scented lotion | Widely available | Fragrance may irritate healing skin |
Use the product recommended by the artist unless it causes a reaction. Stop using any product that leads to worsening redness, burning, bumps, or swelling.
Tattoo Healing Timeline
Tattoo healing varies by size, placement, skin condition, saturation, and aftercare. The surface may appear healed before the deeper layers have fully settled.
| Healing Stage | Common Changes | Main Care Focus |
| First 24 to 48 hours | Redness, tenderness, warmth, plasma, mild swelling | Protect and clean gently |
| Days 3 to 7 | Dryness, tightness, light scabbing, itching | Moisturize lightly and reduce friction |
| Days 7 to 14 | Peeling, flaking, stronger itching | Avoid scratching or pulling skin |
| Weeks 2 to 4 | Calmer surface and temporary dullness | Continue gentle skin care |
| Following weeks | Deeper layers continue healing | Protect from sun and monitor the tattoo |
Mild redness, tenderness, peeling, and itching usually improve as healing progresses. Symptoms that worsen instead of improving may need closer attention.
Scabbing, Peeling, and Itching
Light scabbing, flaking, and peeling are common as the surface begins to repair. These changes usually appear after the first few days and should gradually settle.
Do not pick scabs or pull loose skin. Removing them early can disturb pigment, reopen the area, and increase the risk of scarring.
Itching can often be managed with a thin layer of moisturizer, loose clothing, and a cool compress. Scratching, rubbing, or slapping the tattoo can damage the healing surface.
Severe itching, widespread bumps, blistering, or swelling may indicate irritation or an allergic reaction rather than normal healing.
Activities to Avoid While a Tattoo Heals
Fresh tattoos should not be soaked in pools, baths, hot tubs, lakes, or oceans. Prolonged water exposure can soften the skin and increase contact with bacteria or chemicals.
Brief washing is different from soaking. Clean the tattoo gently and dry it without leaving the area wet for long periods.
Exercise may need to be reduced when it causes heavy sweating, repeated stretching, equipment contact, or clothing friction. The restriction depends on the tattoo’s size, placement, dressing, and healing progress.
Tight clothing, straps, shoes, bedding, and work equipment can rub against the tattoo. Choose loose, clean clothing and reduce pressure on the area when possible.
Direct sunlight should also be avoided while the tattoo is healing. Sunscreen is better suited to healed skin, while fresh tattoos should be protected with shade or clothing.
| Activity | Main Concern | Safer Adjustment |
| Swimming | Bacteria, chemicals, and soaking | Wait until the skin has healed |
| Heavy exercise | Sweat, stretching, and friction | Reduce intensity or modify movements |
| Tight clothing | Rubbing and trapped moisture | Wear loose, breathable clothing |
| Contact sports | Impact and contamination | Avoid contact with the tattooed area |
| Sun exposure | Irritation and pigment damage | Keep the tattoo covered and shaded |
Normal Healing Versus Possible Complications
Normal healing symptoms should improve over time. Redness, tenderness, warmth, and swelling are more concerning when they spread, intensify, or appear with discharge or fever.
| More Consistent With Normal Healing | More Concerning Sign |
| Mild redness near the tattoo | Redness that spreads outward |
| Tenderness that gradually decreases | Pain that becomes stronger |
| Clear or slightly pink fluid early on | Thick yellow, green, or foul-smelling discharge |
| Mild warmth after the session | Increasing heat with swelling |
| Dryness, peeling, and light scabbing | Blisters, open sores, or damaged tissue |
| Moderate itching during peeling | Severe rash or widespread bumps |
| Mild localized swelling | Red streaks, fever, or chills |
A tattoo artist can answer questions about dressing, peeling, and expected healing. Suspected infection, severe reactions, or worsening symptoms should be assessed by a qualified healthcare professional.
Tattoo Infection Warning Signs
Mild redness, warmth, and tenderness can occur shortly after tattooing. These symptoms should gradually improve rather than spread or become more painful.
Possible infection signs include worsening redness, increasing heat, swelling, pus, unpleasant odor, red streaks, fever, chills, or feeling unwell. Tattoo infections can resemble allergic or inflammatory reactions, so professional diagnosis may be needed.
Do not scratch the area, drain it, or rely on leftover medication. Contact a qualified healthcare professional when symptoms are worsening or appear more severe than normal healing.
Allergic and Irritant Reactions
A healing tattoo can react to pigment, adhesive film, soap, lotion, or another product touching the skin. Symptoms may include persistent itching, rash, raised bumps, blistering, burning, or unusual swelling.
Some pigment reactions can develop weeks, months, or even years after the tattoo was applied. A dermatologist can help determine whether the problem involves pigment, contact dermatitis, infection, or another skin condition.
Remove a suspected aftercare product only when it can be done safely and avoid testing additional products on irritated skin. Facial swelling, breathing difficulty, or a rapidly worsening reaction requires urgent medical attention.
When to Contact the Artist and When to Seek Medical Care
The tattoo artist is the appropriate first contact for questions about dressing removal, washing, normal peeling, product use, or a possible touch-up. The artist can explain the expected healing process but should not diagnose or treat a medical condition.
A healthcare professional should assess worsening pain, spreading redness, increasing heat, pus, fever, severe swelling, persistent rash, or other signs of infection or an adverse reaction. Dermatologists specifically recommend medical evaluation when infection symptoms or unusual skin changes appear.
| Situation | Contact the Artist | Seek Medical Care |
| Dressing begins lifting | Yes | If the skin develops a strong reaction |
| Questions about washing or moisturizer | Yes | If products cause worsening symptoms |
| Normal peeling or temporary dullness | Yes | Usually not necessary |
| Patchiness after complete healing | Yes | Usually not necessary |
| Spreading redness or increasing pain | Inform the artist | Yes |
| Pus, fever, chills, or red streaks | Inform the artist | Promptly |
| Persistent rash or raised bumps | Inform the artist | Yes |
| Facial swelling or breathing difficulty | Secondary concern | Urgently |
Touch-Ups and Healed Tattoo Assessment
A tattoo should be judged after the skin has fully healed. During peeling, the design may look dull, cloudy, uneven, or lighter than expected.
Small areas of pigment loss or patchiness can sometimes be corrected during a touch-up appointment. The artist may compare the healed tattoo with reference photos before deciding what needs adjustment.
Do not tattoo over skin that is still irritated, scabbed, infected, or unusually sensitive. The area should be fully settled before additional work begins.
Long-Term Tattoo Care
Sun exposure is one of the main causes of fading and contrast loss. Once the tattoo has healed, use protective clothing or sunscreen when the area will be exposed.
Regular moisturizing can help the skin look smooth and healthy, but specialty tattoo products are not always necessary. A basic fragrance-free lotion is often enough for healed skin.
Weight changes, aging, pregnancy, muscle growth, scars, and skin conditions can alter how a tattoo looks over time. These changes are normal and do not always mean the tattoo was applied poorly.
Touch-ups may be needed when pigment fades unevenly or small details lose clarity. The timing depends on the tattoo, placement, sun exposure, and how the skin has changed.
How to Evaluate a Tattoo Studio’s Safety Practices
A safe studio should follow clear procedures rather than relying on appearance alone. A clean-looking room does not guarantee that equipment, gloves, and contaminated materials are handled correctly.
Watch how the artist opens supplies, changes gloves, covers equipment, prepares ink, and disposes of used needles. These actions reveal more about safety than décor or fragrance.
The artist should answer hygiene questions clearly and explain how reusable equipment is sterilized. They should also provide written aftercare instructions and show healed examples of their work.
| What to Check | Safer Sign | Warning Sign |
| Needle preparation | Opened from sealed packaging | Loose or previously opened |
| Glove use | Changed between tasks | Used for phones, doors, and tattooing |
| Ink handling | Fresh caps for each client | Reused or returned to the bottle |
| Surface protection | New barriers on touched equipment | Uncovered equipment handled with dirty gloves |
| Waste disposal | Needles placed in a sharps container | Used needles left on the workstation |
| Aftercare | Clear written instructions | Vague or missing guidance |
| Portfolio | Healed work is available | Only edited fresh tattoos are shown |
Professional Training, Licensing, and Documentation
Tattoo safety depends on more than artistic skill. Professional artists should understand infection control, bloodborne pathogen precautions, skin response, equipment handling, and emergency procedures.
Training requirements vary by location. Some areas require licensing, health permits, inspections, bloodborne pathogen certification, or supervised apprenticeship experience.
Studios should keep accurate client and procedure records when required. These may include consent forms, health disclosures, pigment details, batch numbers, appointment notes, and incident reports.
Documentation helps with traceability when a client experiences a reaction or when a product must be identified later.
Waste Disposal and Post-Session Sanitation
Used needles and cartridges should be placed directly into an approved sharps container. They should never be reused, recapped, or placed in ordinary trash.
Gloves, wipes, dressings, barriers, and other contaminated materials must be handled according to local biohazard waste rules. Disposal procedures may vary depending on the studio’s location.
After the client leaves, disposable barriers are removed and discarded. Reusable surfaces are cleaned and disinfected with an approved product.
Cleaning removes visible residue, while disinfection reduces harmful microorganisms. Disinfectants must remain on the surface for the required contact time to work properly.
Common Tattoo Process and Aftercare Mistakes
Small mistakes before and after the session can affect healing, comfort, and the final result. Most problems come from poor preparation, contamination, excessive moisture, friction, or ignoring worsening symptoms.
| Mistake | Why It Causes Problems | Better Approach |
| Choosing an artist based only on price | Safety and technical quality may be overlooked | Review hygiene, training, style, and healed work |
| Hiding health information | The artist cannot assess relevant risks | Provide accurate information |
| Approving a stencil too quickly | Placement or sizing problems may be missed | Review it from several angles |
| Touching the tattoo with unwashed hands | Increases contamination risk | Wash hands first |
| Applying too much moisturizer | Traps moisture and irritates the skin | Use a thin layer |
| Picking scabs or peeling skin | Can remove pigment and damage the surface | Let skin shed naturally |
| Swimming too soon | Exposes the tattoo to bacteria and chemicals | Avoid soaking until healed |
| Wearing tight clothing | Creates friction and traps sweat | Choose loose, clean clothing |
| Exercising through heavy irritation | Increases rubbing, sweat, and swelling | Modify activity during healing |
| Ignoring worsening symptoms | Allows complications to progress | Seek medical evaluation |
| Judging the tattoo while peeling | Temporary dullness may look like fading | Wait until healing is complete |
Frequently Asked Questions
Tattooing directly over a mole is generally discouraged because pigment can make changes in its shape, border, or color harder to detect. Ask the artist to leave a small clear space around the mole, and have any unusual or changing spot examined by a dermatologist.
Most people with tattoos can have an MRI, but rare cases of temporary burning or swelling have been reported. Tell the MRI technologist about your tattoos before the scan, especially if the tattoo is large, recently applied, or contains metallic pigments.
A tattoo does not automatically prevent blood donation, but eligibility and waiting periods depend on where the tattoo was applied and the rules of the donation service. Contact the blood donation center directly and provide the date and location of the tattoo appointment.
Do not apply numbing cream without discussing it with the artist and, when appropriate, a healthcare professional. Some highly concentrated or unapproved topical pain products marketed for tattooing can cause harmful absorption or other serious reactions.
Tattooing injures the skin and may trigger raised keloid scars in people who are prone to them. Anyone with a history of keloids should speak with a dermatologist before booking a tattoo.
Tattooing can trigger eczema, psoriasis, or another inflammatory skin condition in or around the tattooed area. Avoid tattooing active, irritated, or broken skin and consult a dermatologist before proceeding if you have a chronic skin condition.
Tattoo removal creams cannot reliably reach pigment placed in the deeper layer of the skin. The FDA has not approved do-it-yourself tattoo removal creams and warns that some may cause burns, rashes, discoloration, or scars.
Protect the Work Long After the Appointment
A well-made tattoo depends on decisions made before, during, and after the session. Choosing a responsible artist, following proper aftercare, and allowing the skin to heal without unnecessary irritation all shape the final result.
Treat aftercare as part of the tattoo, not as an optional step once you leave the studio. Clean the area gently, protect it from friction and soaking, and respond quickly when symptoms become worse instead of better.
The best outcome is not simply a tattoo that looks good on the first day. It is healthy skin, stable pigment, and artwork that continues to hold its clarity as it ages.